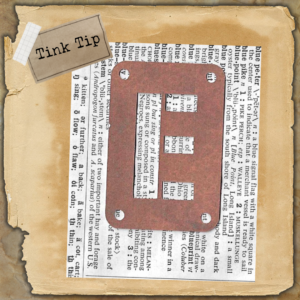
Tink’s Tip: Using Glitter Glue for a Grunge-Style Junk Journal Finish
I’ll admit it right up front…
I’m not a Glitter Girl.
I’m much more at home in the world of vintage, distressed, and grunge-style junk journals. But every once in a while, a project calls for something a little outside my usual comfort zone.
This was one of those times. 😉
The Problem: What to Do with Tiny Detail Holes
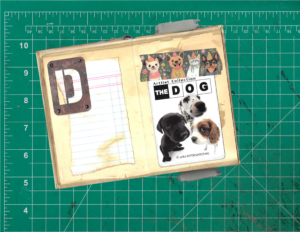
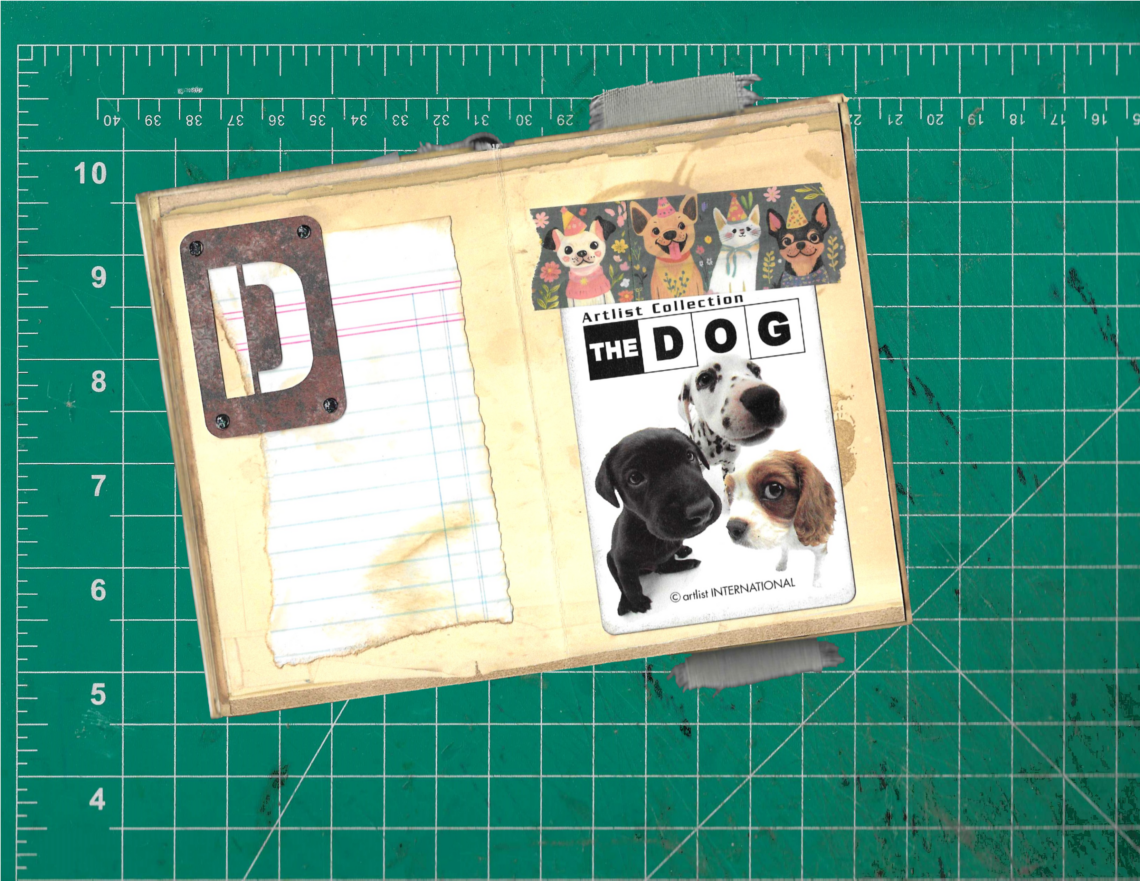
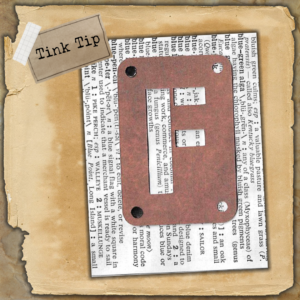
I was working on a junk journal page featuring a stencil-style letter “D” (for Dog).
The letter itself looked great, but it had small holes in each corner — the kind that are meant to suggest rivets or fasteners.
Normally, you might use tiny brads for something like that, but in this case, I didn’t want the back side of the page to show the brad legs.
Leaving the holes empty didn’t feel finished either.
So I needed another solution.
The Solution: A Grunge-Friendly Glitter Glue Trick
Instead of trying to make glitter glue look pretty…
I tried to make it look useful.
Here’s the simple process I used.
Step 1: Attach Your Ephemera
First, I glued the stencil-style letter securely onto the page and let it dry completely.
Step 2: Add Depth with Ink
Once the glue was dry, I used a black Sharpie to fill in each of the small holes.
In this picture, you can see the holes on the left side are filled in, while the others are still untouched.
This step adds depth and gives us something for the next layer to build on.
Step 3: Apply the Glitter Glue
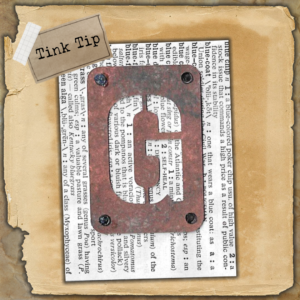
Next, I applied a thin layer of glitter glue over each of the blackened holes.
I used the most transparent, colorless glitter glue I had, because I wanted the black Sharpie underneath to show through.
Again, the holes on the left have the Glitter Glue applied. The other holes don’t.
Step 4: Let It Dry and Take a Look
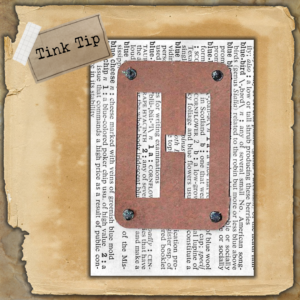
Once everything dried, the effect was subtle but really effective.
Instead of looking sparkly or decorative, the result looked more like small dimensional accents — almost like aged rivets — which fits much better with a grunge-style junk journal.
Why This Works
This technique works because you’re layering:
• a dark base (Sharpie)
• with a clear dimensional medium (glitter glue)
That combination gives you depth without shine taking over.
Bonus Tip
The glitter glue I used came with a little removable sealer under the cap.
Since I don’t use glitter glue very often, I didn’t throw it away. When I finished, I put the sealer back under the cap so it won’t dry out.
Final Thoughts
Sometimes the best techniques come from working with what you already have.
This was a simple workaround, but it turned into something I’ll definitely use again — especially when I want to add small details without adding bulk.
And honestly… I still wouldn’t call myself a Glitter Girl.
But I might be a Grunge Girl who occasionally borrows glitter. 😄

You May Also Like
Vintage Cottages Junk Journal Kit with FREE Bonus Design
Steampunk Furniture Junk Journal Kit with FREE Bonus Design