Shadow Stenciling for Junk Journals (A Happy Worktable Experiment)
Some of the best ideas don’t come from planning…
They come from not wanting to tidy up. 😉
A Rainy Day = Studio Time
Today my plan is to finish decorating the Mother’s Day junk journals I’m making for my cousins and sister.
It’s rainy here, which means I’m staying off the computer (old house wiring and storms don’t mix well), so it turned into a perfect excuse to spend time at my worktable.
While moving things around, I came across some small botanical stencils I hadn’t used yet—and they were just the right size for these smaller journals (about 3 1/2″ x 5 1/2″).
And then the idea hit…
The Idea: Shadow Stenciling
What if I layered two colors…
…and placed the first image like it was a shadow of the second?
Naturally, I had to try it immediately. 😉
Step-by-Step: How I Tested It
Step 1: Set Up + Registration Marks
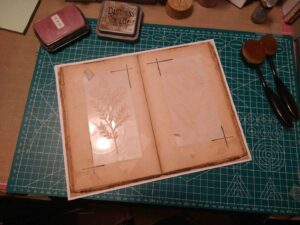
I used old paper printouts as my base since that’s the look of my journal pages.
I added registration marks at the corners of the stencil (Sharpie for demo, pencil for real use), and lightly secured the stencil with removable tape.
Step 2: First Layer (Base Color)
I applied Rangers’s Vintage Photo Distress Oxide for the first layer.
At this stage, one stencil is removed, one is still in place so you can see the comparison.
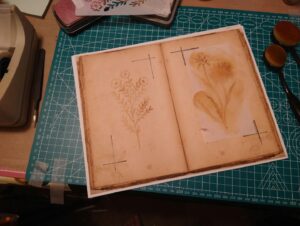
Step 3: Offset + Second Color
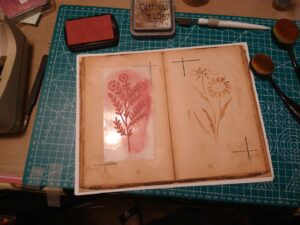
I repositioned the stencil slightly up and to the left using the registration marks.
Then I applied a rosy pink ink (Rose Dust – The Color of Poetry, from DeskNook on Etsy ).
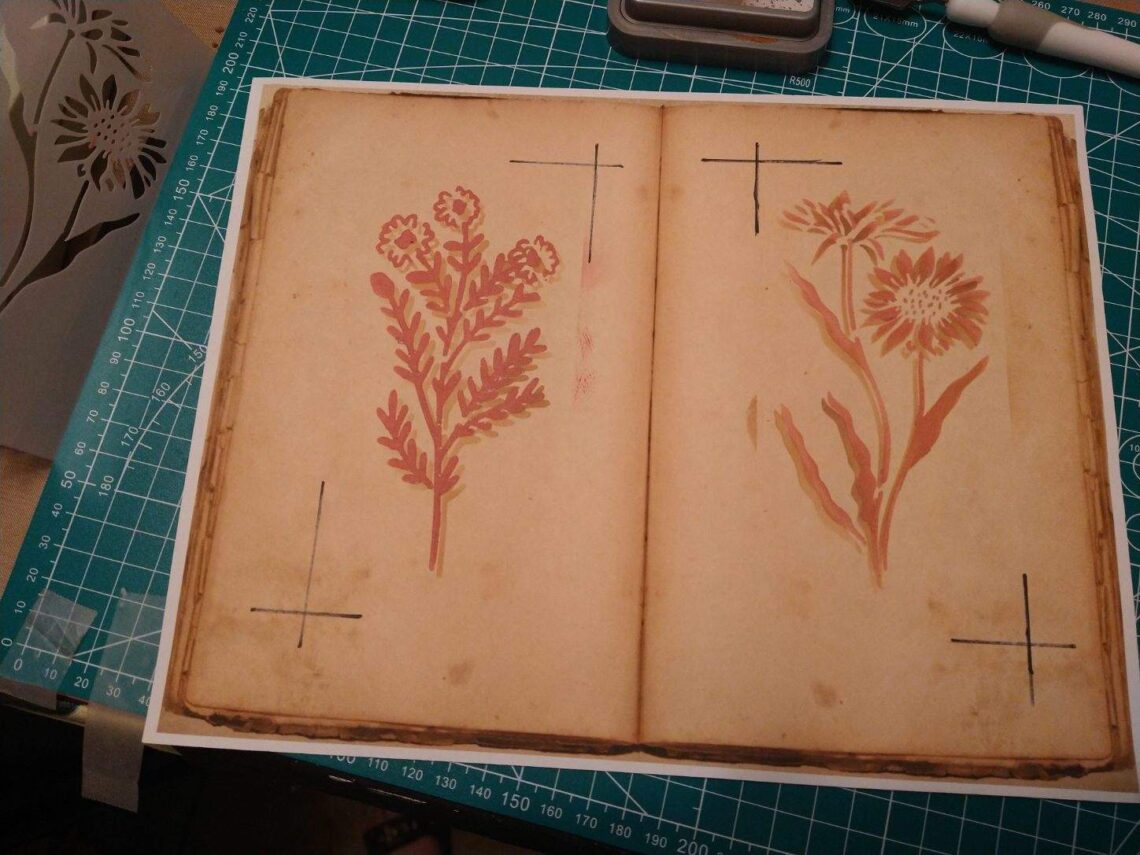
Step 4: Reveal the Effect
Now you can clearly see the “shadow” effect forming.
One image has both layers, the other still has just the base.
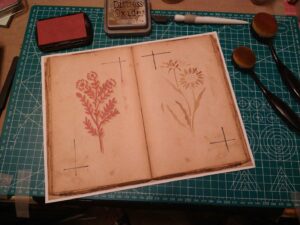
Step 5: Finished Comparison

Both images completed—and interestingly…
I prefer the simpler stencil.
What I Learned (The Useful Part 😉)
If you want to try this shadow stencil technique, here’s what matters:
✔ Simpler designs work better
Too much detail muddies the shadow effect.
✔ Clean your stencil between layers
Front and back—unless you enjoy accidental color blending.
✔ Use light registration marks
They make placement much easier the second time.
✔ Keep your shadow direction consistent
Pick a direction (up-right, down-left, etc.) and stick with it across your project.
This is one of those subtle things that viewers don’t notice when it’s right…
…but definitely feel when it’s off.
Final Thoughts
This started as a quick experiment…
…and turned into a technique I’ll absolutely use again.
Which, honestly, is my favorite kind of crafting day. 💛
Go make something beautifully messy.
Tink

You May Also Like
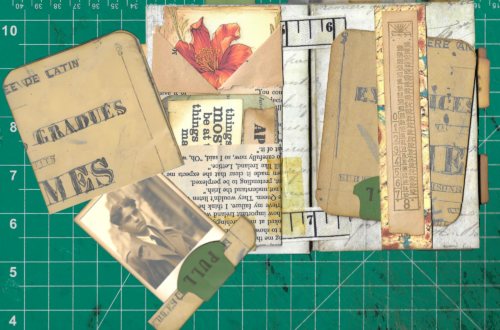
Hidden Sliding Ephemera Pockets for Junk Journals
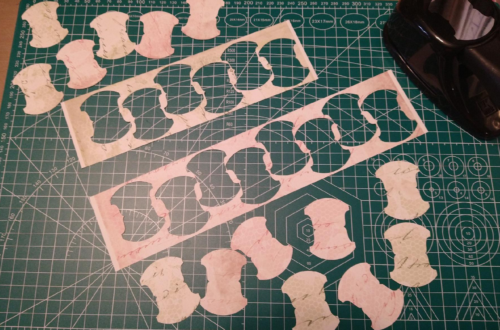
How to Save Paper When Using a Whale Tail Punch (Junk Journal Tip)